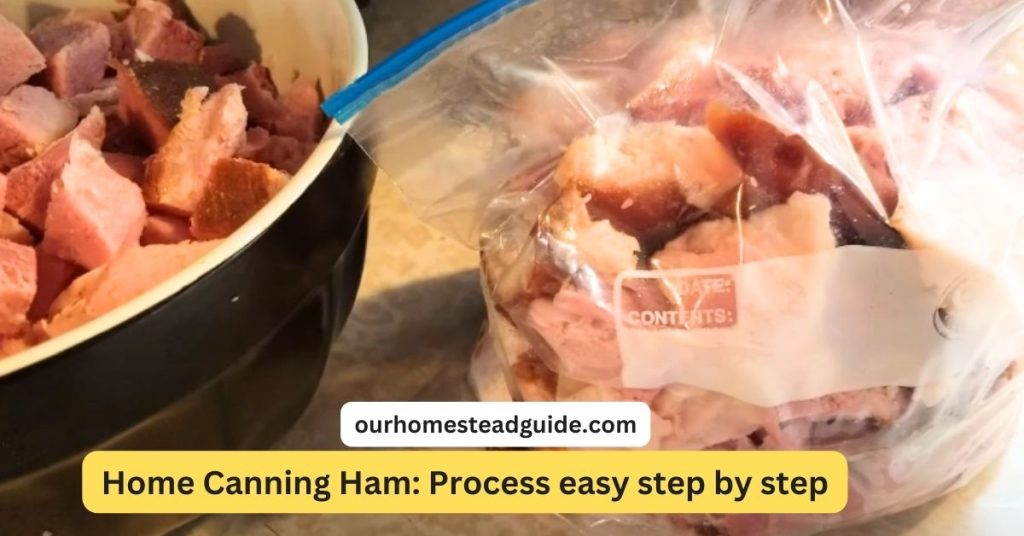
Home Canning Ham: Process easy step by step
Canning ham is an age-old preservation method that allows you to enjoy flavorful and succulent ham throughout the year. This comprehensive guide will take you through the canning process, whether you’re an experienced home cook or a novice, making sure your canned ham stays tasty, safe, and ready to be enjoyed whenever you choose. Let’s get started with preserving ham.
Canning Ham Ingredients and Equipment:
Before you begin, gather all the necessary ingredients and equipment:
Ingredients:
- Fresh ham
- Curing ingredients (salt, sugar, and optional seasonings)
- Curing salt (sodium nitrate or nitrite)
- Water
| Equipment | Description |
|---|---|
| Large food-safe container | Container for mixing or storing large quantities of food. |
| Mixing bowls | Bowls for combining and mixing ingredients. |
| Measuring spoons and cups | Tools for accurately measuring ingredients. |
| Plastic wrap or plastic gloves | Used for covering and protecting hands during food preparation. |
| Refrigerator | Appliance for keeping perishable ingredients cold. |
| Canning jars with lids and bands | Jars for preserving and storing food, equipped with lids and bands. |
| Pressure canner | Device for safely canning low-acid foods using pressure. |
| Jar lifter | Tool for safely lifting and removing hot canning jars from the canner. |
| Timer | Device or app for setting and tracking cooking or processing times. |
| Clean towels | Towels for wiping and cleaning surfaces during food preparation. |
How to Canning Ham?
Step 1: Prepare the Canning Ham
Give quality and appropriate trimming first priority when choosing a fresh ham. Choose a ham that is firm to the touch and has a bright color; stay away from hams that are overly wet or discolored. Canning Ham Marbling is a sign of a desired fat content, which enhances flavor and juiciness. Look for it.
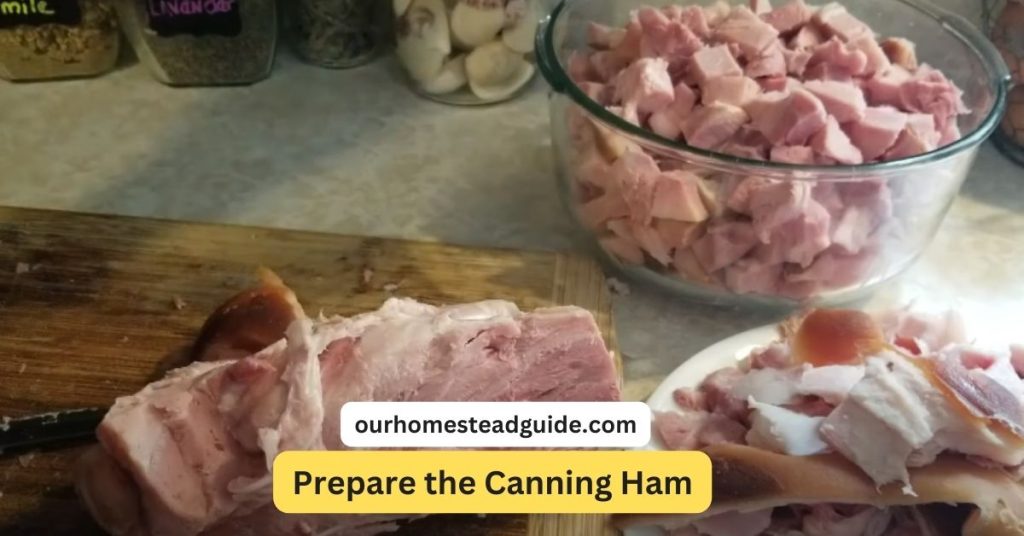
Make sure the ham has also been sufficiently stripped of any extra skin and fat, as this improves the texture of the meat and cuts down on wastage. A wonderful and fulfilling cooking experience begins with a carefully selected and neatly trimmed fresh ham.
Rinse the ham under cold running water to begin the preparation process. By doing this, you may ensure that the finished product is cleaner and more aesthetically pleasing by getting rid of any remaining blood or bone fragments. You may improve the ham’s flavor and texture and ensure food safety by giving it a thorough wash.
It is important to pat the ham dry with paper towels after rinsing it. This will help the flavors stick to the ham and make it more visually appealing. The key to creating a tasty and exquisitely cooked dish is to properly dry the ham.
Step 2: Prepare the Curing Mixture
In a large bowl, whisk together the proper amount of sugar, salt, and seasonings of your choice. The curing mixture, which is created by this amalgamation, is essential to improving the flavor and texture of the ham. The sugar adds a hint of sweetness to offset the saltiness of the salt, which also helps to preserve the ham and enhances its overall flavor profile.

Selective seasonings give a unique twist that lets you customize the ham’s flavor to your preference. These components come together to form a powerful mixture that will work its magic during the curing process, Canning Ham gives the ham delicious subtleties that will reveal themselves as it ages.
Applying the curing mixture to the ham is an essential part of the preparation process. It helps to preserve the meat and gives it a delicious flavor. The mixture is a blend of salts, spices, and sometimes a trace of sweetness.
It is applied by hand to ensure a complete and even dispersion over the whole surface of the ham. The curing mixture slowly infuses the flesh of the ham with its flavor. The judicious use of curing salt helps to preserve the ham by preventing the formation of dangerous bacteria.
This deliberate inclusion is in line with the painstaking craft of charcuterie, where science and artistry combine to create a product that satisfies palates while upholding the greatest standards of quality and safety. Canning Ham The curing salt becomes a crucial component of the metamorphosis that occurs when it adheres to the ham’s outlines.
Canning Ham The curing salt contributes to the overall excellence, succulence, and flavor depth of the ham by becoming a crucial component of the metamorphosis that will take place during the curing phase when it settles onto its outlines.
Step 3: Curing Process
Succulent ham slices are arranged delicately, and as they settle into a large, food-safe container, a delicious aroma wafts across the kitchen. A veritable work of culinary art, the ham’s rosy and golden tones form a savory mosaic inside the container.
Every slice is a demonstration of the marriage of culinary art and workmanship, embodying the knowledge and proficiency of its creation.
Canning Ham As the container gradually fills, anticipation grows and the performance becomes a symphony of heritage and taste. The container invites everyone in, promising a delicious feast to come, with its chilly embrace guaranteeing freshness.
Prior to proceeding, make sure the ham is properly protected. You can either cover it with plastic wrap or put on plastic gloves to protect it from coming into contact with the curing mixture. This will help to preserve the ham’s quality and the hygienic standards that are so important in the cooking process.
After the ham is adorned with the curing mixture, place it in the refrigerator and let it cure for the recommended amount of time—roughly one day for every two pounds of pork. Don’t forget to rotate the ham on sometimes over this period to ensure consistent curing. This careful tuning makes sure the flavors combine perfectly, producing a deliciously well-balanced dish.
Step 4: Wash and Soak
After the specified curing time has passed, remove the ham from the curing mixture with care. Then give it a good rinse under a cold water stream, making sure to get rid of any excess salt. This rinsing process imparts a subtle balance of flavors, removing any excessive salinity and highlighting the real flavor of the ham.
Place the ham in a container with ice and let it sit in the water for four to six hours. Canning Ham Don’t forget to replace the water every hour throughout this time. This technique is a skillful way to reduce any residual over-saltiness and bring out the best flavor profile in the ham.
Step 5: Prepare for Canning
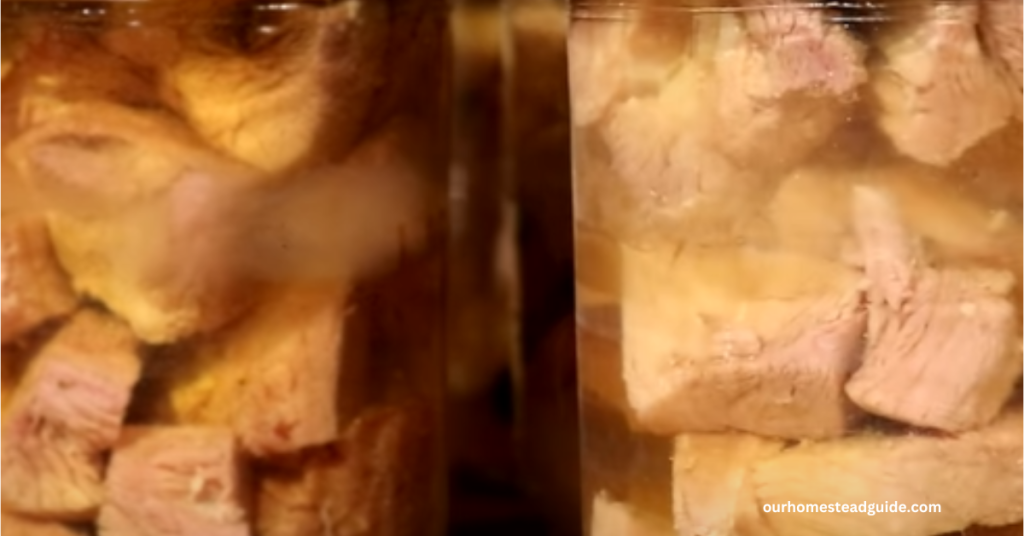
Continue by carving the cured ham into canning-ready portions of the proper size. Canning Ham This careful separation guarantees that every component fits in with the canning procedure, resulting in a preserved treat that captures the essence of the ham’s flavor.
Position the divided ham pieces, leaving about an inch of space around the rim, into perfectly clean and disinfected canning jars. This deliberate space allows for optimal sealing and protects the ham during the canning process, maintaining its flavor and texture.
Step 6: Pressure Canning
Canning Ham Follow the directions carefully that came with your pressure canner to figure out how much water is needed. Maintaining accurate water levels ensures that the canning process goes well and that the ideal conditions for sealing and preserving the ham inside the jars are maintained.
Position the filled canning jars inside the pressure canner, taking care to prevent any direct contact between the jars. Canning Ham This precautionary measure prevents potential breakage during the canning process and ensures that each jar is treated individually, allowing for consistent heat distribution and effective preservation.
Close the canner lid firmly, and then refer to the manufacturer’s instructions for specific instructions on how to achieve the required pressure level for the canning ham. Following these recommendations ensures a successful and safe canning procedure, preserving the ham to the highest degree while retaining its flavor and quality.
Start the canning process by allowing the jars to sit for the allotted amount of time, which is usually between 75 and 90 minutes. The precise amount of time needed varies depending on factors like the jar sizes and the specified pressure levels. This is a crucial step in obtaining the appropriate level of preservation and guaranteeing that the ham stays safe to eat as well as a delectable treat.
Step 7: Cooling and Storage
You appear to be giving a step in a series of instructions. It appears that you are talking about a cooking or food preparation method that uses pressure and heat. Would you kindly elaborate on the situation you’re describing, the details you need help with, or any other relevant information? This will enable me to respond to you in a more precise and beneficial manner.
It looks like you’re going through how to can or preserve food. Using a jar lifter, carefully take the jars from the canner and set them on a clean towel after the processing time is over and the pressure has let out naturally. To guarantee the security and appropriate sealing of canned goods, this is a standard procedure.
Canning Ham Of course, you’re giving advice on how to store canned ham once it’s been canned. It’s crucial to store canned foods correctly to preserve their safety and quality. Below is a synopsis of the procedures you described:
- Pick a Cool, Dark, and Dry Place to Store: Make sure the place you store things is dry, dark, and cool. This helps shield the canned ham from light, heat, and moisture, all of which can deteriorate its quality and even cause it to rot.
- Eat Within Suggested Time Range: For optimal quality and safety, canned foods have a suggested shelf life. It is crucial to verify the cans’ expiration or best-by dates and adhere to any advice given by the manufacturer. It is important to eat the canned ham as soon as possible to keep it fresh and tasty.
Canning ham that has been properly sealed and kept in storage can be a useful and durable addition to your pantry. Please ask if you need any more help or if you have any more queries!
Essential Tips
- Canning Ham Always assures food safety by adhering to authorized canning and curing procedures.
- To produce the correct flavor and color and to avoid botulism, use the proper amount of curing salt.
- Check the accuracy and proper operation of your pressure canner on a regular basis.
- For simple tracking, write the canning date on the labels of your jars of canned ham.
- Canning Ham As per USDA guidelines, modify the processing periods and pressure levels according to your altitude.
- It’s better to throw away any tinned ham if you’re unsure about its safety.
Conclusion:
Canning ham allows you to savor the taste of ham throughout the year, ensuring you have delicious and safe canned ham on hand. Practice makes perfect, so hone your canning skills and enjoy homemade canned ham.
Most Frequently Asked Questions!
1-Can you have ham at home?
Yes, you can ham at home using proper canning techniques. It’s important to follow established canning guidelines to ensure the safety and quality of the canned product.
2- What type of ham is best for canning?
It’s recommended to use fully cooked, high-quality ham for canning. Choose ham with good texture and flavor for the best results.
3- Can you have raw ham?
Canning raw ham is not recommended due to the risk of bacterial contamination and inadequate heat penetration during processing. Always use fully cooked ham.
4- What equipment do I need for canning ham?
You’ll need canning jars, lids, rings, a pressure canner, a jar lifter, and basic kitchen utensils. Make sure your equipment is in good condition and follow the manufacturer’s instructions.
5- Do you need to add any liquid when canning ham?
No additional liquid is needed when canning ham. The ham itself will release juices during the canning process.
6- What’s the process for canning ham?
The general process involves preparing the ham, packing it into jars, leaving headspace, sealing the jars, processing them in a pressure canner, and allowing them to cool naturally.
7- How long do you process canned ham?
The processing time can vary depending on factors like jar size, altitude, and specific canning guidelines. Typically, processing times for ham can range from 75 to 90 minutes in a pressure canner.
8- Can you add seasonings or flavorings to the canned ham?
Yes, you can add seasonings or flavorings to the ham before canning. However, it’s important to use safe and tested recipes to ensure proper preservation.
9- How do you know if the canned ham is spoiled?
Signs of spoilage in canned ham can include off smells, changes in color, visible mold, or any signs of gas escaping from the jar. If you notice any of these signs, do not consume the ham.
10- Can canned ham be stored at room temperature?
It’s recommended to store canned ham in a cool, dark, and dry place. Room temperature storage is suitable as long as it’s within the recommended time frame for consumption.
You may also like this article.