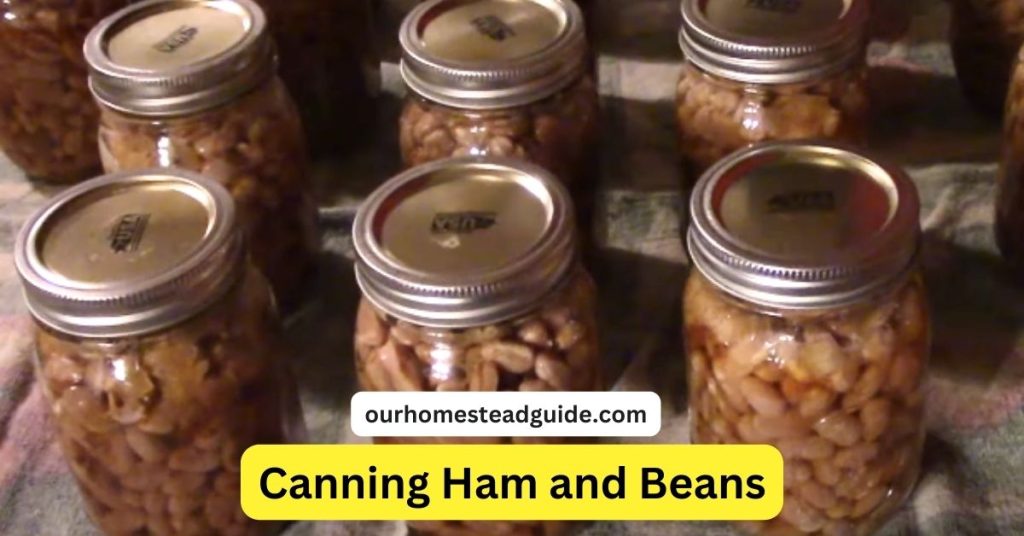
How to Canning Ham and Beans: Easy Procedure
A beloved culinary custom that makes our kitchens more convenient and increases the shelf life of these delectable delicacies is canning ham and beans. A useful skill for home cooks to have is canning ham and beans, which lets them save wholesome, tasty meals for later use.
This process guarantees that the tastes and nutritional content of the ham and beans are maintained, making them a year-round mainstay.
How to Canning Ham and Beans?
1-Materials and Equipment
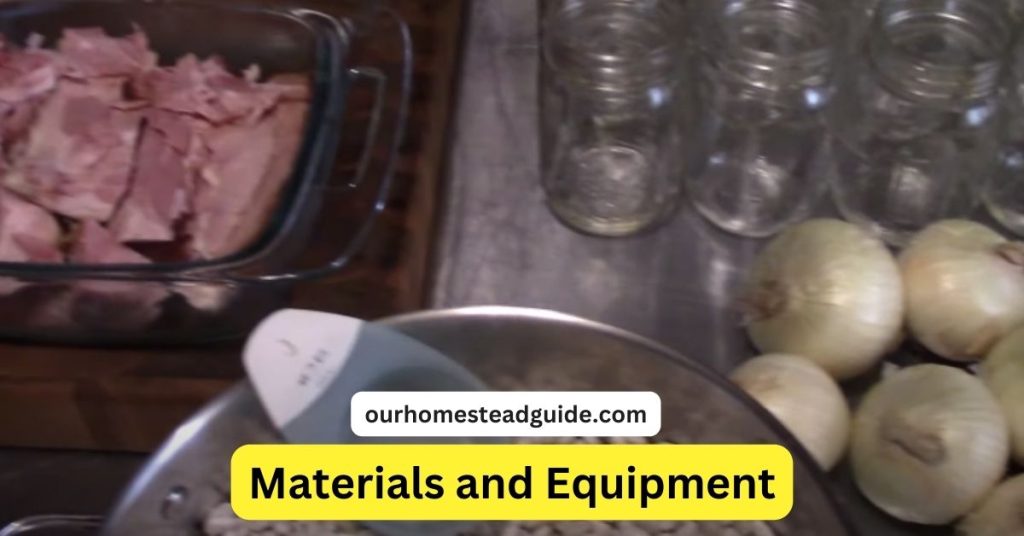
- Glass jars made expressly for canning should be used when buying canning jars. Jars in quart or pint sizes are popular options.
- Canning lids: To ensure adequate sealing, these should be brand-new and still have their rubber seals.
- Metal bands known as canning bands screw onto the jars to hold the lids in place.
- Fresh ham: Depending on your preferences, choose high-quality ham that is either boneless or has the bone in.
- You can use a variety of dried beans, including navy beans, pinto beans, and black-eyed peas.
- Seasonings: Spices and flavorings that improve the taste of food, such as salt, pepper, garlic, onions, and herbs.
- Water is used to prepare the canning liquid and soak the beans.
Equipment:
- A pressure canner is necessary for properly canning ham and beans. Make sure it’s in functioning order and adhere to the manufacturer’s guidelines.
- Large pot: Used to boil the ham and beans in advance of canning.
- To prepare the ham and any additional ingredients, use a cutting board and knife.
- Beans should be rinsed and drained in a colander or sieve.
- Using a ladle, put the ham and beans in jars and then add the canning solution.
- Funnel – Facilitates clean filling of the jars.
- To get rid of air bubbles in the jars, use the bubble removal tool.
- Jar lifter: A tool for handling hot canning jars safely.
- For handling hot jars and equipment, use towels and hot pads.
- Timer – To precisely track processing times.
2-Preparing Ham and Beans
It’s important to start with the right ingredients and follow the right procedures when preparing ham and beans for canning. First, choose high-quality ham that is both fresh and defect-free. Consider the size of your canning jars as you cut the ham into the proper-sized pieces. Depending on your desire and recipe, choose the sort of bean you want to can, such as pinto beans or cannellini beans.
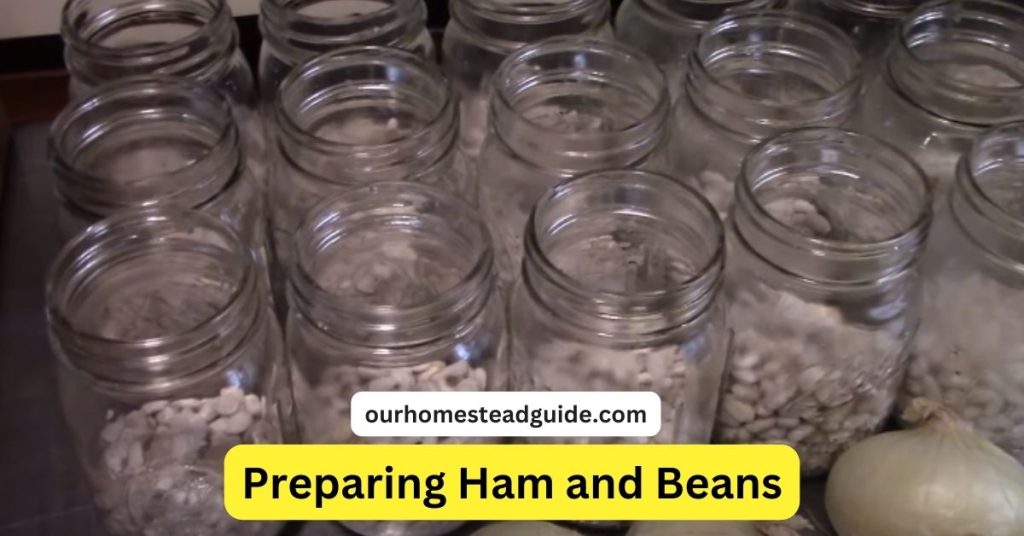
The beans must be soaked in water for an entire night before being carefully rinsed. The beans are more soft and delicious when you open the jars thanks to the soaking process, which also speeds up the canning process and helps rehydrate the beans.
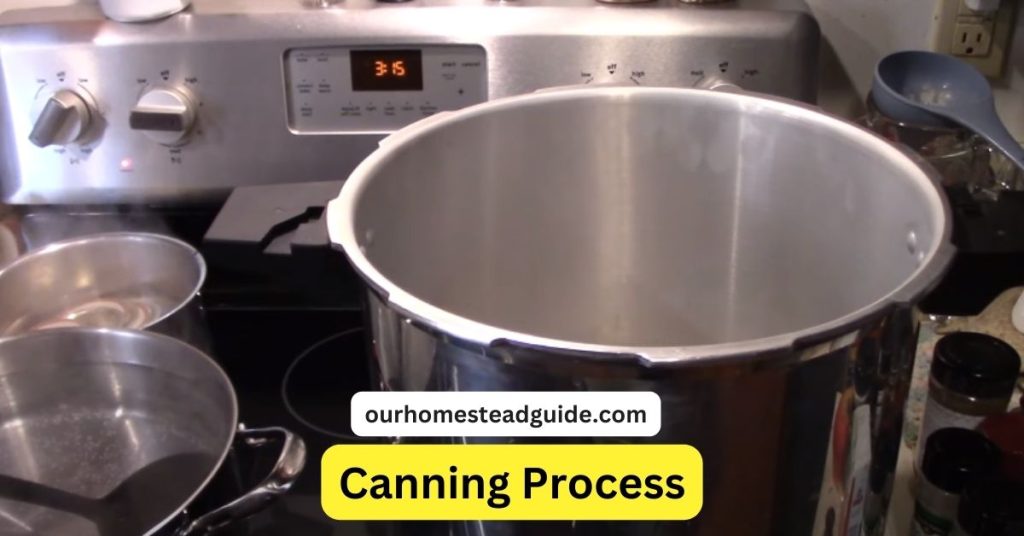
3-Canning Process
For ham and beans to be preserved safely and flavorfully, several crucial measures must be taken during the canning process. To start, sterilize the canning jars and lids to make your food’s environment as hygienic as possible. After that, fill the jars with the prepared ham and soaked beans, leaving enough headspace for expansion during canning.
Don’t forget to season your ham and beans with herbs, salt, or pepper to make them taste even better. After that, fill the jars with hot water or broth, making sure the ham and beans are well submerged. Use a non-metallic tool to carefully remove any air bubbles that have been stowed away from the jars.
Finally, to prepare the jars for the essential canning procedure that follows, seal them with sanitized lids and screw on the bands fingertip-tight.
4-Pressure Canning:
It’s crucial to follow the manufacturer’s instructions included with your pressure canner when pressure canning your ham and beans. For canning to be done safely and effectively, certain guidelines are essential. In addition, when choosing the proper pressure and processing time, consider your altitude.
Altitude can have an impact on the canning procedure, so be sure you’re using the right parameters for your location by consulting a reliable source or canning manual. By following these instructions, you can safely preserve the quality of your ham and beans for a long time.
5-Cooling and Storage
To guarantee the long-term safety and quality of your canned ham and beans, it’s essential to follow these last instructions for cooling and storage after the pressure canning process. First, let the jars cool naturally on a spot that is clean and dry. You could hear the pleasant “pop” as the lids seal as they cool. Press the center of each lid to check the seals; it should be firm and not flex under pressure.
Consider quickly cooling or reprocessing any jars whose lids don’t seal properly. Once you’re sure that the lids on every jar are securely fastened, store them somewhere cool, dark, and dry, like a pantry or cellar.
6-Tips and Safety Precautions
- Start with Clean Equipment: Before use, make sure to properly clean and disinfect all of your canning equipment, including jars, lids, and utensils. By doing this, contamination and spoiling are reduced.
- Use dependable, tried-and-true canning recipes from organizations like the USDA or Ball canning manuals. These recipes feature precise processing periods and are made for safe canning procedures.
- Maintain Proper Pressure: Carefully follow the manufacturer’s directions while using a pressure canner, and measure pressure precisely based on your altitude. Unsafe canning may come from insufficient pressure.
- After the canning procedure, ensure that the lids of all the jars are properly sealed. When pressed in the middle, a lid that is correctly sealed shouldn’t flex. If a jar hasn’t been sealed, immediately reprocess it or put its contents in the fridge.
- Avoid Overfilling Jars: To allow for adequate expansion during processing, leave the recommended amount of headspace in each jar. Jars that are overfilled may not properly seal.
- Use fresh ingredients, and pick ham and beans of the highest caliber. Ingredients that are spoiled or past their prime should not be used.
- Pay attention to the processing timeframes indicated for your altitude and the size of the jars. Food that has been processed for too little time may be undercooked or unhealthy.
- When using a pressure canner, make sure it is properly ventilated before allowing pressure to build up. Follow the venting directions on your canner to let out any trapped air.
- After the canning procedure, allow the jars to naturally cool. Avoid exposing them to temperature changes or drafts. Rapid cooling can cause seal failures.
- Jars should be marked with their contents and the date they were canned. This makes it easier for you to monitor the freshness of your canned items.
- Check Your Stored Jars Periodically: Periodically examine your stored jars for any indications of damage, leaks, or seal failures. Discard the contents if you discover any problems.
Common Problems to Solve:
- Jars that aren’t sealed: If a jar doesn’t seal, put it in the refrigerator and eat the contents within a few days. Alternatively, you can reprocess it using a new lid while adhering to the correct steps.
- Do not ingest the contents if you detect any signs of deterioration, including off flavors, mold, or an odd texture. Safely discard the jar.
- Low Liquid Level: Occasionally, manufacturing might cause the liquid levels in canned items to significantly decrease. Even while it’s not ideal, the food is probably okay to eat as long as the seal is intact. To increase consistency before eating, you can add boiling water to the jar.
7-Recipe Ideas
Ham and beans can make a flexible and filling base for a variety of delectable meals. Use them to make a hearty ham and bean soup that will warm you up and fill you up. The rich taste of the ham will permeate the broth and beans.
A tasty ham and bean casserole can be made instead by combining the canned components with veggies, herbs, and cheese to create a savory baked treat. Use canned ham and beans in a robust chili recipe for a quick and simple choice. Their practicality and flavor give dimension to this traditional comfort food.
Finally, think about adding them to salads, wraps, or omelets to give your favorite recipes a nutrient- and protein-rich twist. Because there are so many options, canned ham and beans are a pantry essential that can serve as the basis for a wide variety of gourmet masterpieces.
Canning Beans
Many homes keep canned beans in their cupboard as a handy and wholesome source of fiber and protein. Although canned beans from the supermarket are widely accessible, canning beans at home is a more affordable and tasty option. Here’s how you can beans at home, step-by-step:
Sort and rinse the beans:
In a colander, thoroughly rinse the dry beans until the water runs clear. Throw away any damaged or discolored beans.
Allow the beans to soak:
In a big saucepan, cover the beans with water, then let them soak for eight hours or overnight. By doing this, the beans get softer and cook faster.
Get the ham ready:
Slice the ham bone or hock into thin pieces. Add the soaked beans to the saucepan along with the ham pieces, salt, molasses, peppercorns, bay leaves, and thyme.
Bring to a simmer after boiling:
After the beans have soaked, drain the water. Fill the beans with at least two inches of fresh water. Over high heat, bring the saucepan to a boil. After that, lower the heat to a simmer and cook the beans for approximately an hour, or until they are soft but still have a small bite.
Pull the beans:
Prepare the canning jars and lids according to the manufacturer’s directions while the beans are cooking. Leave a 1-inch headroom at the top of the jars as you pack the hot beans in.
Prepare the jars:
Make sure the filled jars are not in contact with one another when you place them in the pressure canner. Fill the canner with enough water to come up to at least one inch above the jars. Following the manufacturer’s directions, close the canner and raise the pressure to a high level.
High-pressure process:
For pints and quarts, process the jars for the necessary amount of time (75 minutes or 90 minutes, respectively).
Release the pressure:
After the processing period is up, switch off the canner’s heat source and let the pressure ten minutes to naturally relax. Then, using the safety valve on the canner, gradually release the residual pressure.
Take the jars out of the canner.
Using a jar lifter, carefully remove the jars from the canner and set them on a folded towel to cool entirely.
Check for seals:
Press down on the middle of each lid to ensure that the jars are well sealed once they have cooled. The lid is securely sealed if it does not bend or pop up.
Put a label on and store:
Indicate on each jar what’s inside, when it was processed, and how to store it. The canned beans can be kept for up to a year in a cold, dark area.
Conclusion:
The preparation, sterilization, seasoning, sealing, and processing processes are essential when canning ham and beans. The culinary convenience of having canned ham and beans on hand enhances dishes like soups, casseroles, and salads. These ingredients become essential pantry mainstays for home cooks and food connoisseurs thanks to canning, which ensures they maintain their flavor and nutritional value.
Most Frequently Asked Questions!
1- Is it safe to can ham and beans at home?
As long as you use the right canning methods and adhere to safety precautions, canning ham and beans at home is safe. Utilize tried-and-true recipes, sanitize your tools, and process your jars in accordance with the guidelines.
2- Can I use any type of ham for canning?
You can use smoked, cured, or fresh ham, among other forms of ham. Make sure it is flawless and of excellent quality.
3- Do I need to cook the ham and beans before canning?
Yes, it is necessary to cook the ham and beans in advance of canning. This guarantees that they are properly stored and safe to eat.
4- How long do canned ham and beans last?
When kept in a cold, dark, and dry location, properly canned ham and beans can have a shelf life of up to one year or more.
5- Can I adjust the seasonings in my canned ham and beans?
The shelf life of properly canned ham and beans can be up to one year or longer when maintained in a frigid, dark, and dry environment.
6- What should I do if a jar doesn’t seal properly?
You can either chill a jar’s contents and consume them within a few days if the lid fails to seal, or you can reprocess the jar with a new lid using the correct canning techniques.
7- Can I mix ham and beans with other vegetables or ingredients?
Yes, you can add other vegetables to your tinned ham and beans for taste and diversity, such as carrots, celery, or onions. Make sure they are cooked and prepared appropriately.
8- Do I need to adjust processing times for my altitude?
Yes, while pressure canning, it’s crucial to alter processing times based on your altitude. For advice unique to your altitude, examine respected canning manuals or speak with your neighborhood extension office.
9- Can I have ham and beans in a water bath canner?
No, using a water bath canner to preserve ham and beans is unsafe. These ingredients must be pressure-canned to ensure safety because of their low acidity.
10- Are there any common mistakes to avoid when canning ham and beans?
Under-processing, overfilling jars, utilizing inefficient canning methods, and failing to adhere to tried-and-true recipes are common faults to avoid. Successful canning depends on following safety precautions.
you may also like this article.