Canning Pico de Gallo Tomatoes: Easy Steps
Canning Pico de Gallo Tomatoes is a great method to preserve the rich tastes of this well-known Mexican salsa all year long. With its fresh and zesty blend of tomatoes, onions, cilantro, jalapenos, and lime juice, pico de Gallo, also known as salsa fresca or salsa cruda, is an excellent candidate for canning.
You can continue to savor the taste of summer long after tomato season is over by preserving these tastes in jars. This article will walk you through the steps of preserving Pico de Gallo tomatoes so that every bite of your homemade salsa retains its crispness, zest, and authenticity.
Ingredients:
- tomato fresh
- Onions
- Jalapeno peppers, optionally, for added spiciness
- Lemon-Cilantro juice
- Salt
Equipment:
- jars for canning with lids and bands
- a big water-boiling pot
- Can openers
- The chopping board and knife
- mixing vessels
- Saucepan
How to Canning Pico de Gallo Tomatoes?
1-Prepare Your Jars:
It’s crucial to carefully prepare your jars before beginning the canning process. The first and most important step in canning is sterilizing your jars and lids. Start by carefully adding them to a sizable pot of water that is being heated to a rolling boil for around 10 minutes. This procedure ensures a clean slate for keeping your prepared treats while also getting rid of any potential microorganisms.
Canning Pico de Gallo Tomatoes Once the jars and lids have completed the sterilizing process, carefully remove them from the boiling water and let them cool naturally. This crucial step ensures that your culinary creations stay fresh and delectable for an extended length of time and lays the groundwork for safe and effective canning.
2-Prepare the Tomatoes:
It’s time to be ready for the show-stopping tomatoes as the next step in your canning journey. To start, thoroughly wash them to get rid of any dirt or contaminants. It’s best to remove the skins to speed up the canning process and improve the texture of your pico de gallo.
Canning Pico de Gallo Tomatoes To accomplish this, gently blanch the tomatoes by placing them in boiling water for one to two minutes, and then quickly move them to a dish of icy water.
Canning Pico de Gallo Tomatoes The skins will readily peel off because of the sudden temperature change, exposing the luscious flesh inside. The tomatoes should be cored once the skins are taken off and then chopped into the required size for your salsa.
3-Chop the Ingredients:

Canning Pico de Gallo Tomatoes Now that the supporting cast of your Pico de Gallo has been neatly chopped, let’s explore the art of taste balancing. Start by chopping the onions finely and consistently so that their distinct flavor permeates the entire salsa. With regard to jalapenos, you can choose to reduce the heat by removing the seeds if you want a softer kick or increase it by keeping them in.
Remember to handle them carefully and, if necessary, wear gloves to prevent getting capsaicin on your skin. Last but not least, finely slice the fresh cilantro leaves to add a flash of brilliant green and a wonderful herbal touch to your Pico de Gallo. To ensure that every bite of your homemade salsa is precisely matched to your preferences, feel free to change the quantity of these ingredients to reflect your taste preferences.
4-Mix the Ingredients:
Now, it’s time to bring all the elements together in a harmonious symphony of flavors. In a generously sized mixing bowl, unite the finely chopped tomatoes, onions, jalapeños, and cilantro.
Add a generous squeeze of fresh lime juice, infusing your Pico de Gallo with a tangy zest that elevates its taste. Canning Pico de Gallo Tomatoes Don’t forget a sprinkling of salt, a simple yet essential seasoning that enhances the overall profile.
With all the ingredients in the bowl, gently but thoroughly mix them, ensuring that the flavors meld seamlessly. Take a moment to taste your creation and make any necessary adjustments to the seasoning, fine-tuning it to perfection. Your Pico de Gallo is now a tantalizing blend of fresh, vibrant ingredients ready to add zest to your culinary adventures.
5-Heat the Salsa:
Consider gently warming your Pico de Gallo combination for a few minutes over low heat to bring out the flavors. Even though this step is completely optional, it might help the vivid elements come together. Canning Pico de Gallo Tomatoes The tomatoes, onions, cilantro, and peppers release their natural juices when heated gently, allowing them to combine and produce a flavorful salsa that is both mellow and vibrant.
Canning Pico de Gallo Tomatoes Your Pico de Gallo will surely be a lovely addition to your culinary masterpieces, whether you decide to heat it or not.
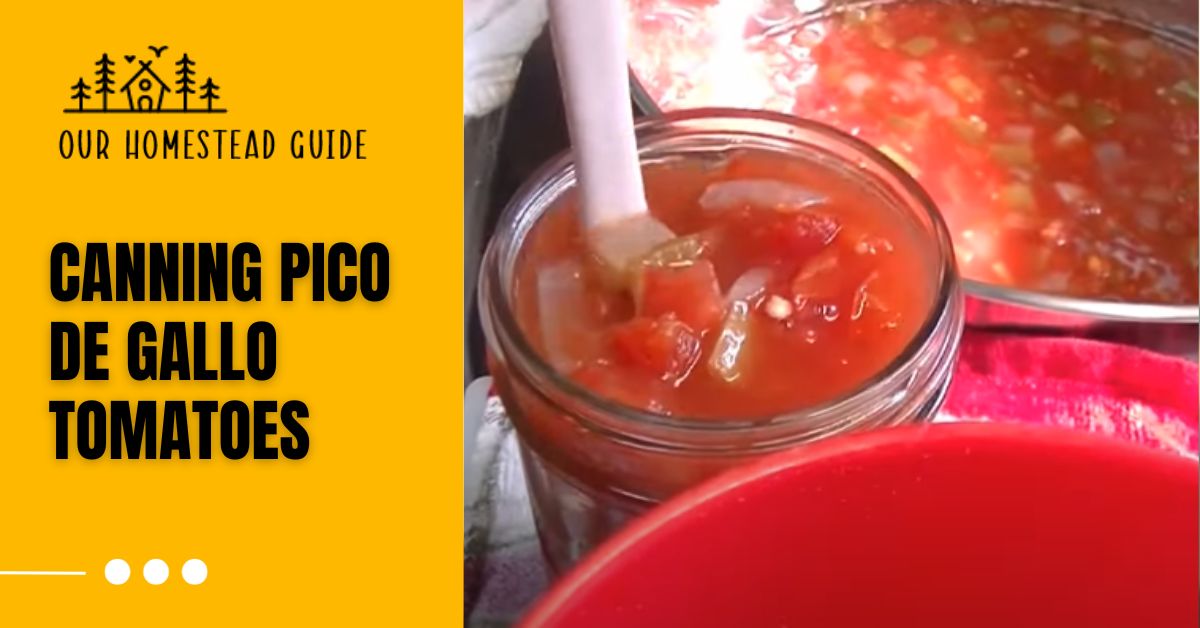
6-Fill the Jars:
When it’s time to can your delectable Pico de Gallo, make sure the procedure goes smoothly by transferring the hot mixture to your thoroughly sterilized canning jars. Each jar’s top should have about half an inch of headroom to allow for good sealing and expansion during processing.
At this point, a canning funnel can come in very handy and make the process of ladling your delicious mixture into the jars a breeze. Canning Pico de Gallo Tomatoes This focus on detail not only ensures a safe and durable product but also that your handmade Pico de Gallo will keep its mouthwatering flavor for numerous meals to come.
7-Seal the Jars:
Wipe the rims of the canning jars clean, making sure the seal is tight, to finish the canning procedure and protect your tasty creation. After that, snugly fit the sterilized lids onto each jar. Once the bands are just fingertip tight, tighten them using your fingertips. This step is essential for forming a tight seal that still allows for the necessary escape of air during canning.
Canning Pico de Gallo Tomatoes By paying close attention to every last detail, you’ll be able to enjoy your handmade Pico de Gallo for a long time while maintaining its fresh and vivid flavors.
8-Process the Jars:
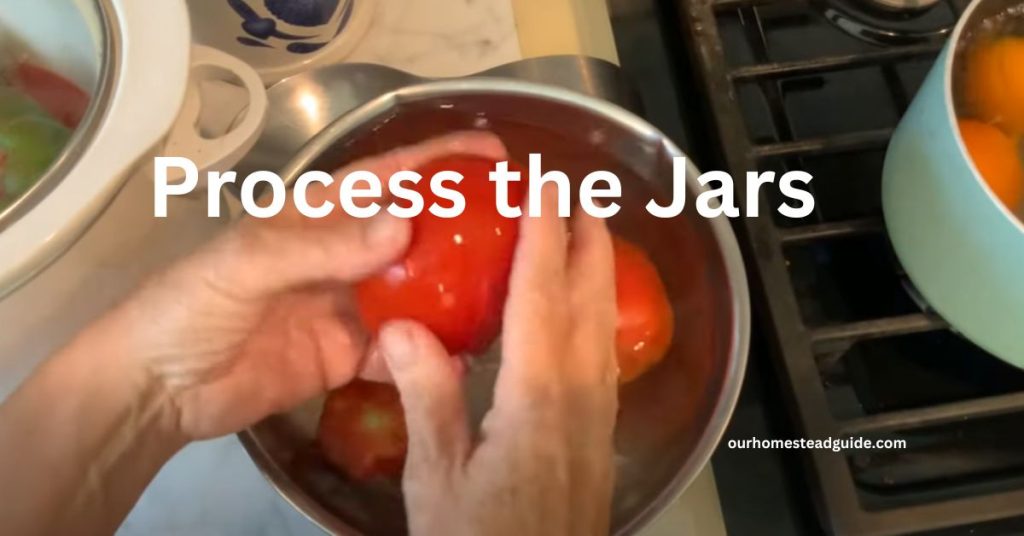
Process the jars correctly to guarantee the long-term preservation of your Pico de Gallo. Make sure the water completely covers the filled jars before starting to immerse them in a large saucepan of boiling water. The processing period normally lasts between 15 and 20 minutes, but if you’re at a higher altitude, you should either adjust the processing time or get advice from a reputable canning resource.
Canning Pico de Gallo Tomatoes This step is essential because it sterilizes the contents of the jars in an efficient manner, establishing a secure and airtight environment that will allow your tasty Pico de Gallo to remain delectable for a lengthy amount of time.
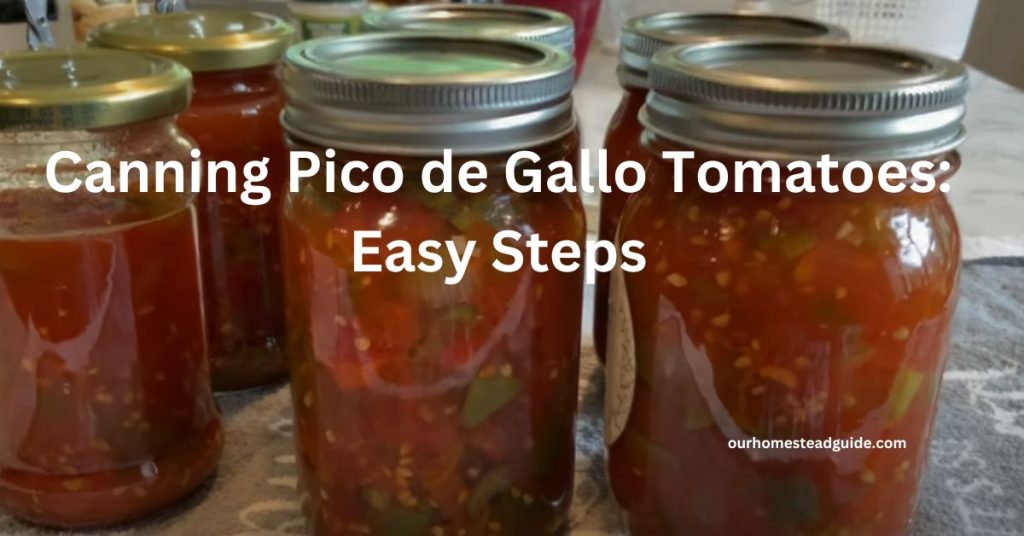
9-Cool and Store:
Following the completion of the preparation procedure, it is necessary to ensure that your preserved Pico de Gallo is well sealed and cooled. Remove the jars from the boiling water bath using canning tongs, being careful not to cause any rapid temperature fluctuations or jarring movements. Set the heated jars on a cloth or cooling rack to cool naturally at room temperature.
Canning Pico de Gallo Tomatoes During the cooling process, you should hear a gratifying popping sound, indicating that the lids are properly sealing. It’s critical to be patient and let the jars cool completely before storing them in a cool, dark, and dry location. This final step ensures that your homemade Pico de Gallo is safe and ready to provide a burst of flavor to your dishes.
10-Check the Seals:
Once your jars of Pico de Gallo have cooled to room temperature, perform a simple but critical check to confirm their integrity. Press down gently on the center of each lid. Canning Pico de Gallo Tomatoes Congratulations, your preservation method was effective, and the jar is correctly sealed if the lid does not pop back and remains firmly sealed.
Canning Pico de Gallo Tomatoes These sealed jars can be safely stored for an extended amount of time in a cold, dark, and dry pantry. If the lid pops back when pressed, suggesting an imperfect seal, place the jar in the refrigerator and consume the contents within a few weeks to ensure ideal freshness and flavor.
11-Label and Store:
Canning Pico de Gallo Tomatoes Take the time to label each sealed jar with the date of preservation to guarantee simple identification and tracking of your homemade Pico de Gallo. This simple step will help you maintain track of freshness and ensure you get the most out of your delectable product.
Once labeled, keep the jars in a cool, dark place, such as a pantry or cupboard, for up to a year. Canning Pico de Gallo Tomatoes will hold its excellent taste if properly wrapped and kept, making it a practical and delectable complement to your culinary adventures all year.
Pico de Gallo Tomatoes Please keep in mind that canning necessitates close attention to safety and precise methods to avoid spoiling. To securely preserve your Pico de Gallo, follow canning requirements and utilize appropriate equipment.
Observations:
- Add a minced jalapeño pepper to the pico de gallo for more spiciness.
- Use one teaspoon of dried cilantro if you don’t have any fresh cilantro on hand.
- Before canning, let the pico de gallo rest for at least 30 minutes to enhance its taste.
| Nutrient | Amount per Serving (1/2 cup) |
|---|---|
| Calories | 15 |
| Fat | 0 grams |
| Protein | 1 gram |
| Carbohydrates | 3 grams |
| Fiber | 1 gram |
| Sodium | 150 milligrams |
Why Canned Tomatoes to Make Pico de Gallo
There are several justifications for preparing pico de gallo with canned tomatoes. Here are some of the more striking examples:
Practicality: There’s no need to slice or core canned tomatoes because they come fully chopped and peeled. This helps you save time and effort when preparing a large quantity of pico de gallo.
Continuity: Tomatoes that are canned consistently have the same size, shape, and flavor. This implies that regardless of the type of canned tomatoes you use, your pico de gallo will always taste the same.
All year-round accessibility: You can create pico de gallo throughout the year, even when fresh tomatoes aren’t in season, because canned tomatoes are always accessible.
Economy of scale: Purchasing canned tomatoes in large quantities might result in a lower cost compared to fresh tomatoes.
Duration of shelf life: Because canned tomatoes keep well for months, you may keep them in your cupboard.
Taste: In fact, canned tomatoes may greatly enhance the flavor of pico de gallo. The tomatoes’ tastes can be concentrated throughout the canning process, intensifying them even further.
In general, there are a lot of benefits to making pico de gallo with canned tomatoes. They are tasty, reasonably priced, reliable, and convenient. And regardless matter the season, they will always be accessible.
Here are some more pointers for making pico de gallo with canned tomatoes:
Select chopped or crushed tomatoes from cans. Chopping whole tomatoes will take too much time.
Thoroughly drain the tomatoes from the can before using them. This will assist in avoiding an excessively thin pico de gallo.
To get rid of some of the salt, rinse the canned tomatoes.
To help balance the acidity of the tomatoes in your pico de gallo, add a small amount of sugar.
Most Frequently Asked Questions!
1- What is pico de gallo?
Pico de gallo is a fresh salsa made from diced tomatoes, onions, cilantro, chili peppers, and lime juice. It’s popular in Mexican and Tex-Mex cooking.
2-Why would I want to can pico de gallo tomatoes?
Canning pico de gallo tomatoes allows you to enjoy the taste of this fresh salsa even when tomatoes are not in season. It also contributes to the components’ longer shelf life.
3- What equipment do I need for canning pico de gallo tomatoes?
A large kettle of boiling water, a canning rack or a cloth to protect the jars during processing, a knife, a cutting board, and a canning funnel are all required. Basic kitchen utensils such as a mixing bowl, ladle, and jar lifter are also required.
4- Can I use any type of tomatoes for canning pico de gallo?
Canning Pico de Gallo Tomatoes of any variety can be used, however, plum or Roma tomatoes are frequently favored due to their low moisture content and powerful flavor. You can, however, utilize other types.
5- Do I need to peel the tomatoes before canning?
Yes, blanching the tomatoes briefly in boiling water to remove the skins is advised. This enhances the texture of the canned pico de gallo.
6- How do I safely process the jars?
The filled jars must be processed in a boiling water bath. This entails immersing the filled jars in a big kettle of boiling water for a set amount of time in order to destroy any potential bacteria or microbes and form a vacuum seal.
7- Can I adjust the spice level of pico de gallo when canning?
The filled jars must go through a boiling water bath. This involves submerging the filled jars in a large kettle of boiling water for a certain amount of time to kill any potential bacteria or microorganisms and produce a vacuum seal.
8- How long can I store Canning Pico de Gallo Tomatoes?
Pico de gallo can be stored in a cold, dark, and dry environment for up to 12-18 months if properly canned. However, for optimum quality and flavor, they should be used within 6-12 months.
9- Can I use this canned pico de gallo for other recipes?
Yes, canned pico de gallo can be used in a variety of recipes such as tacos, burritos, and nachos, or as a topping for grilled chicken or fish. It can also be used to make soups, stews, and sauces.
10- Are there any safety precautions I should be aware of when canning?
To prevent the growth of hazardous bacteria, use safe canning techniques like as sterilizing jars and equipment, using fresh ingredients, following established recipes, and processing for the appropriate amount of time.
you may also like this article.