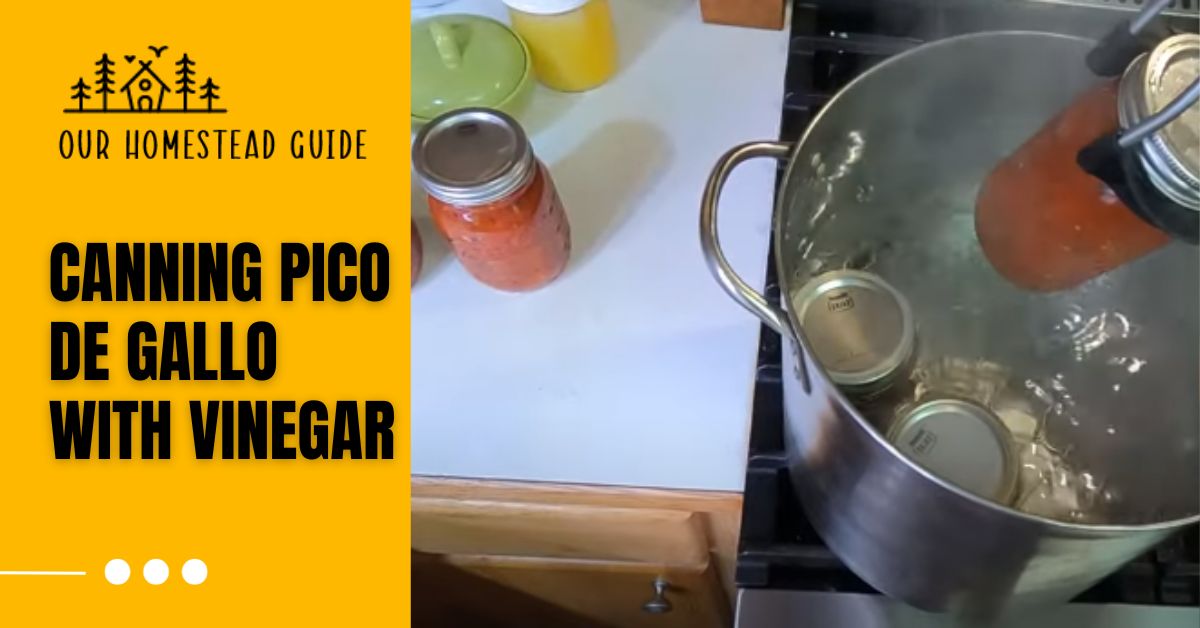
The Best Canning Pico de Gallo With Vinegar: Easy Steps
Canning pico de gallo with vinegar is a delicious and practical way to extend the fresh flavors of this beloved Mexican salsa. Pico de gallo is a tasty blend of chopped tomatoes, onions, cilantro, peppers, and lime juice. When vinegar is added to the canning process, it not only improves the tanginess of the salsa but also allows it to be stored securely without refrigeration for months.
This step-by-step tutorial will bring you through the process of canning pico de gallo with vinegar, allowing you to enjoy this delicious sauce all year long. Let’s go on this culinary voyage, whether you’re a seasoned canner or a newbie, to appreciate the taste of freshly preserved pico de gallo.
Different Tips for Canning Pico de Gallo With Vinegar
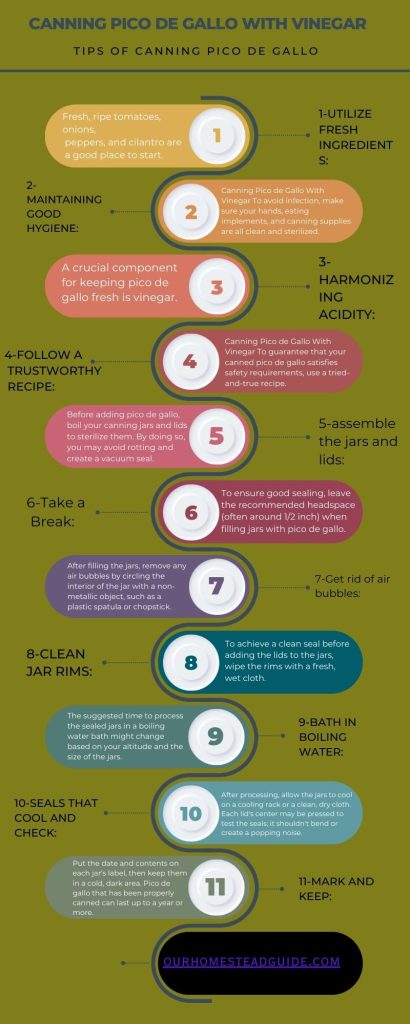
Pico de gallo may be preserved for longer by adding vinegar to the recipe. Here are some pointers to make the canning process successful:
1-Utilize fresh ingredients:
Fresh, ripe tomatoes, onions, peppers, and cilantro are a good place to start. Canning Pico de Gallo With Vinegar A delicious pico de gallo requires high-quality ingredients.
2-Maintaining Good Hygiene:
Canning Pico de Gallo With Vinegar To avoid infection, make sure your hands, eating implements, and canning supplies are all clean and sterilized.
3-Harmonizing Acidity:
A crucial component for keeping pico de gallo fresh is vinegar. To reach the correct amount of acidity for secure canning, use a recipe that details the appropriate type and quantity of vinegar. White vinegar or apple cider vinegar are frequently employed.
4-Follow a Trustworthy Recipe:
Canning Pico de Gallo With Vinegar To guarantee that your canned pico de gallo satisfies safety requirements, use a tried-and-true recipe. The degree of acidity can change as components or ratios are changed, thereby jeopardizing safety.
5-assemble the jars and lids:
Before adding pico de gallo, boil your canning jars and lids to sterilize them. By doing so, you may avoid rotting and create a vacuum seal.
6-Take a Break:
To ensure good sealing, leave the recommended headspace (often around 1/2 inch) when filling jars with pico de gallo.
7-Get rid of air bubbles:
After filling the jars, remove any air bubbles by circling the interior of the jar with a non-metallic object, such as a plastic spatula or chopstick.
8-Clean Jar Rims:
To achieve a clean seal before adding the lids to the jars, wipe the rims with a fresh, wet cloth.
9-Bath in Boiling Water:
The suggested time to process the sealed jars in a boiling water bath might change based on your altitude and the size of the jars. For this stage, adhere to the directions in your recipe.
10-Seals that cool and check:
After processing, allow the jars to cool on a cooling rack or a clean, dry cloth. Each lid’s center may be pressed to test the seals; it shouldn’t bend or create a popping noise.
11-Mark and Keep:
Put the date and contents on each jar’s label, then keep them in a cold, dark area. Pico de gallo that has been properly canned can last up to a year or more.
Canning Pico de Gallo With Vinegar
Ingredients:
- Tomatoes in season
- Onions
- Jalapeno chilies
- Garlic cloves and cilantro
- Sugar (optional) Salt
- distilled white vinegar
- Optional (lemon juice)
Equipment:
Jars with lids and bands for canning
a huge stockpot or a canning pot
Jar lifter Ladle Canning rack
Funnel
Knife for the kitchen
chopping board
In a mixing bowl
1: Prepare Your Ingredients
To begin making your pico de gallo, make sure all of your ingredients are fresh and ready. Begin by carefully washing and finely slicing the tomatoes, onions, jalapeno peppers, and cilantro, letting the rich taste of each component to come through in the final dish. Don’t forget to mince the garlic cloves for an additional savory explosion.
If you have a sweet tooth or want a little sweeter pico de gallo, add a pinch of sugar to taste, establishing a great balance between the vinegar’s tanginess and the natural sweetness of the vegetables. These precise preparations lay the groundwork for a delectable homemade pico de gallo that will soon be filling your canning jars.
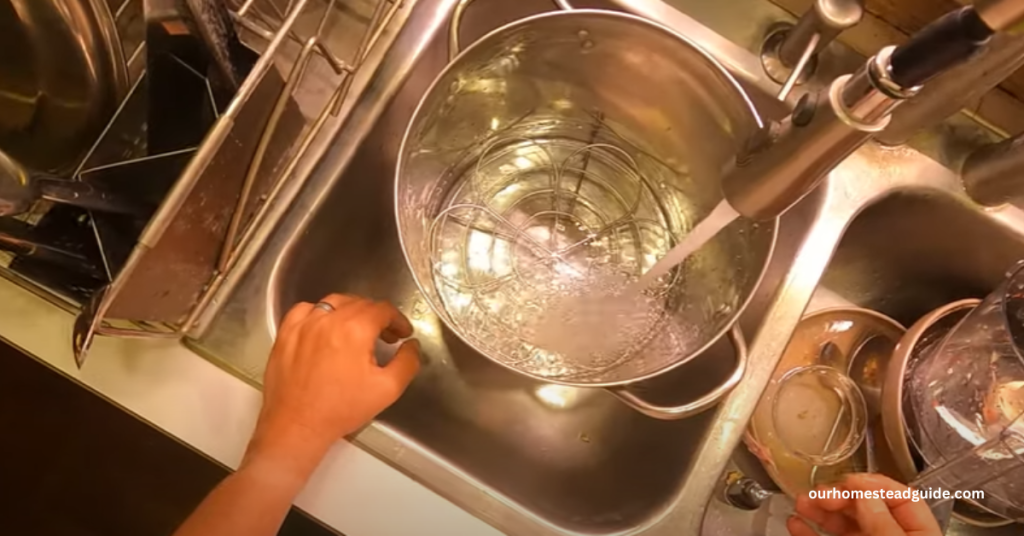
2: Sterilize the Jars
To ensure the safety and longevity of your homemade pico de gallo, sterilize your canning jars. Begin by placing your canning jars in a large pot, making sure they are clean and clear of residue. Fill the saucepan halfway with water, ensuring that the jars are completely submerged. Bring the water to a boil, then reduce to a low heat and let the jars to simmer for around 10 minutes.
Meanwhile, sanitize the lids and bands in a separate saucepan by immersing them in boiling water. This sterilization technique kills any bacteria, ensuring that your preserved pico de gallo stays fresh and flavorful for an extended period of time in these precisely sanitized jars.
Information Table:
The goal of canning pico de gallo with vinegar, its main components, the processes required in the canning process, and safety precautions are all included in this table.
| Topic | Information |
| Canning Pico de Gallo With Vinegar | |
| Purpose | Preserve and extend the shelf life of fresh pico de gallo |
| Key Ingredients | Fresh tomatoes, white onion, jalapeño peppers, cilantro, garlic, vinegar, sugar, salt, cumin (optional) |
| Canning Method | Boiling water bath canning |
| Safety Considerations | Ensure proper acidity (vinegar) for safe canning, sterilize jars and lids, follow altitude-adjusted processing times |
| Equipment Needed | Canning jars, canning lids and bands, large pot for boiling water bath, jar lifter, canning funnel, non-metallic utensil for removing air bubbles, clean towels |
| Steps | 1. Prepare and sterilize jars and lids<br>2. Prepare pico de gallo ingredients<br>3. Fill jars with pico de gallo, leaving headspace<br>4. Remove air bubbles and wipe jar rims<br>5. Apply lids and bands<br>6. Process jars in boiling water bath<br>7. Cool, check seals, label, and store |
| Storage | Store in a cool, dark place; properly canned pico de gallo can last for up to a year or more |
| Recipe Variations | Customize ingredients and spices to suit your taste preferences |
| Safety Note | Follow a trusted and tested canning recipe to ensure safety |
| Enjoyment | Delicious preserved pico de gallo for use in various dishes |
| Additional Resources | Refer to canning guides and recipes for detailed instructions and safety guidelines |
| Note | Always prioritize safety when canning to prevent spoilage and ensure food safety |
3: Prepare the Vinegar Mixture
Begin by preparing the vinegar mixture for your canned pico de gallo in a different saucepan. In this pot, combine the white vinegar and, if desired, a pinch of lemon juice to provide an extra layer of citrusy brightness to the salsa’s flavor. Heat this mixture over low heat, being careful not to let it boil.
Gentle heating allows the vinegar and lemon juice to combine, resulting in a preserving liquid that will infuse your pico de gallo with a wonderful sour kick while keeping its freshness during the canning process. This vinegar mixture is essential for preserving the freshness and flavor of the salsa while it matures in the sealed jars.
4: Fill the Jars
After sterilizing your jars and preparing the vinegar mixture, it’s time to fill them with your meticulously produced pico de gallo. Canning Pico de Gallo With Vinegar To avoid spillage and assure precision, carefully spoon the chopped pico de gallo mixture into each sterilized jar using a funnel. It is critical to provide around 12 inches of room at the top of each jar.
This headspace is critical for the canning process because it allows for expansion while also guaranteeing a proper seal. Canning Pico de Gallo With Vinegar As you fill the jars, you’ll notice not only the beautiful colors and tantalizing perfume of your pico de gallo but also the satisfaction of savoring it in the months ahead.
5: Add the Vinegar Mixture
After filling your jars with the delectable pico de gallo combination, add the preserving vinegar mixture to seal in all the flavors. Carefully pour the gradually heated vinegar liquid over the pico de gallo in each jar, leaving a 12-inch headspace at the top. This step not only adds a delectable tang to your salsa but also functions as a preservative, ensuring that your homemade pico de gallo stays fresh and vibrant during storage.
Canning Pico de Gallo With Vinegar As you pour, you’ll see your components morph into a harmonic blend that will thrill your taste buds long after the canning process is over.
6: Remove Air Bubbles
Remove any trapped air bubbles from the jars to maintain the quality and longevity of your canned pico de gallo. After pouring the vinegar mixture over the salsa, run a sterilized knife or spatula over the inside of each jar carefully. Canning Pico de Gallo With Vinegar This straightforward but critical step aids in the release of any air pockets that may have accumulated during the filling procedure.
By removing these bubbles, you can ensure that your pico de gallo is equally distributed throughout the jar and that there are no pockets of air that could interfere with the sealing process. Canning Pico de Gallo With Vinegar With each bubble released, you’re one step closer to having perfectly preserved pico de gallo on hand to enjoy anytime you want.
7: Seal the Jars
As you near the end of canning your delectable pico de gallo, it’s critical to correctly seal the jars to keep the salsa fresh. Begin by cleaning the jar rims with a moist cloth to eliminate any residue or particles that may interfere with the sealing process. Then, make sure the sterilized lids are positioned on top of each jar. To secure the lids, fasten them with the bands, making sure they’re tight but not too tight.
Canning Pico de Gallo With Vinegar As the contents cool, the secure closure creates a vacuum, successfully keeping in the taste and freshness of your handmade pico de gallo. Your gourmet masterpiece is well on its way to becoming a long-lasting pantry staple after the jars are properly sealed.
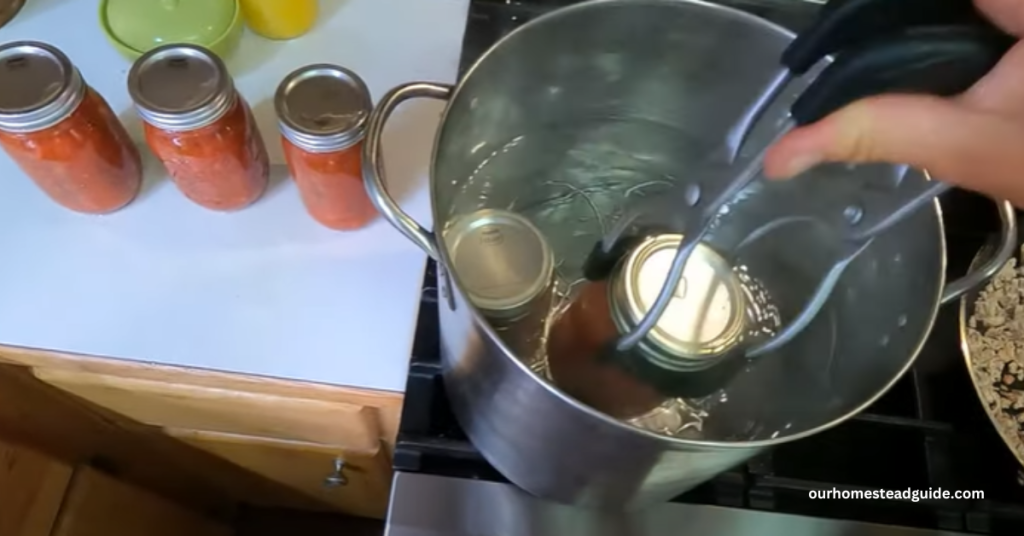
8: Process the Jars
Canning Pico de Gallo With Vinegar Arrange the filled jars inside your canning pot or big stockpot on a canning rack.
Make sure the jars are thoroughly covered in water, with at least an inch covering them.
Canning Pico de Gallo With Vinegar Bring the water to a boil over medium to high heat gradually.
Begin the processing period when the water reaches a rolling boil, which usually takes 15 to 20 minutes.
This boiling step is necessary for closing the jars and establishing a vacuum, which will keep the pico de gallo fresh for a long time.
To ensure perfect sealing and safe preservation, maintain a gentle but consistent boil throughout the entire period.
When the processing period is finished, carefully remove the jars from the boiling water with canning tongs or a jar lifter.
Canning Pico de Gallo With Vinegar Allow the heated jars to cool gently on a clean, dry towel or a cooling rack.
9: Cool and Store
When the processing time is up, cool and store your freshly canned pico de gallo. To avoid burns, carefully remove the hot jars from the canning kettle using a jar lifter. Allow the hot jars to cool naturally and gradually by placing them on a clean towel or a cooling rack. You may hear a gratifying “ping” sound as the lids seal throughout this cooling phase.
Once the jars have completely cooled, inspect the seals for adequate preservation. Gently push each lid’s center; it should be slightly indented and not pop back when pressed. Canning Pico de Gallo With Vinegar A well-sealed lid guarantees that your homemade pico de gallo is safe and ready to be stored in a cool, dark area until you’re ready to consume it.
Conclusion:
Finally, canning pico de gallo with vinegar is a highly rewarding culinary venture that extends the spirit of summer all year. You can enjoy the vivid flavors of homemade pico de gallo whenever you want if you meticulously follow the procedures indicated in this technique.
Whether you’re preserving this spicy condiment to improve your favorite foods or to give the delight of homemade goodness as a thoughtful gift, the labor is unquestionably worth the delicious result. You’re not simply preserving a salsa when you carefully seal each jar; you’re capturing the essence of a season and producing a culinary treasure that will thrill your taste buds and those of your loved ones for many months to come.
Most Frequently Asked Questions!
1- What is Pico de Gallo?
Pico de Gallo is a fresh Mexican salsa made with diced tomatoes, onions, cilantro, jalapenos, and lime juice. It is also known as salsa fresca or salsa cruda. It’s a well-known condiment or dip.
2- Why use vinegar when Canning Pico de Gallo With Vinegar?
When Canning Pico de Gallo With Vinegar, vinegar is added to boost the acidity, which helps preserve the salsa and prevents the formation of harmful bacteria. It also gives the salsa a tangy flavor.
3- Can I have Pico de Gallo without vinegar?
Pico de Gallo should not be canned without vinegar or a similar acidifying agent since it may not be safe for long-term preservation. Food safety depends on the acidity of vinegar or lime juice.
4- What type of vinegar should I use for Canning Pico de Gallo With Vinegar?
You may can Pico de Gallo with either white distilled vinegar or apple cider vinegar. Canning Pico de Gallo With Vinegar The acidity levels of these vinegars are acceptable for safe canning.
5- How long can I store canned Pico de Gallo with vinegar?
Pico de Gallo can be preserved in a cold, dark place for up to a year if properly packed and sealed. However, it is recommended that you consume it within 6-12 months for the finest quality.
6- What equipment do I need for Canning Pico de Gallo With Vinegar?
To maintain the proper canning temperature, you will need canning jars, lids, bands, a big pot for water bath canning, a canning funnel, a ladle, a jar lifter, and a kitchen thermometer.
7- Do I need to sterilize the jars before Canning Pico de Gallo With Vinegar?
Yes, sterilizing the canning jars and lids before filling them with Pico de Gallo is required. This helps to keep the salsa safe during storage.
8- Can I adjust the level of spiciness in canned Pico de Gallo?
Yes, the spiciness can be adjusted by adding more or less jalapenos or other spicy peppers. Remember that the acidity in vinegar can help balance the heat.
9- Can I use a pressure canner instead of a water bath canner for Pico de Gallo?
Because Pico de Gallo is a high-acid food, water bath canning is usually sufficient. If you want to use a pressure canner, follow pressure canning rules and modify the processing time appropriately.
10- Is it safe to can Pico de Gallo with fresh tomatoes?
Yes, you can Pico de Gallo using fresh tomatoes as long as you use a tried-and-true canning recipe that includes an acidifying agent, such as vinegar or lime juice.
you may also like this article.
Canning Pico de Gallo Without Vinegar: easy step by step guide