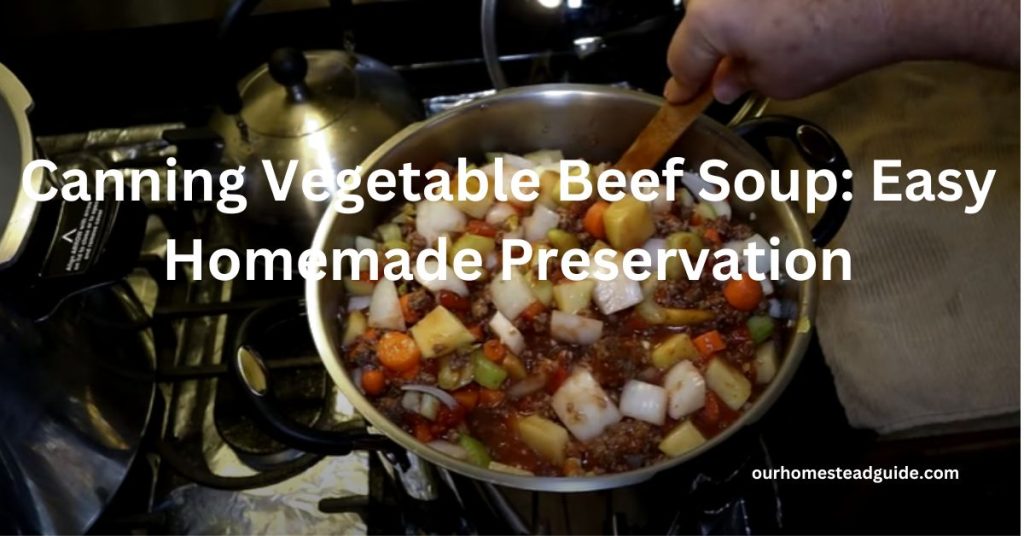
Canning Vegetable Beef Soup: Easy Homemade Preservation
Canning Vegetable Beef Soup, Vegetable beef soup can be easily canned without a pressure cooker, preserving its flavors and nutrients. This step-by-step guide simplifies home canning for all experience levels, ensuring year-round enjoyment of homemade soup.
Ingredients:
cooked beef soup with vegetables
jars for canning with lids and bands
the water-bath canner
Jar raiser
or Dutch oven, large
tidy towels
(Optional) Salt
if necessary, acidifying agents (like lemon juice) for safety
basic canning tools
How to Canning Vegetable Beef Soup?
1: Prepare Your Workspace
Start by meticulously cleaning and organizing all of your necessary equipment in order to set up your canning workspace. Start by doing a complete cleaning and sanitization routine on your canning jars, as well as the lids and bands that go with them. To maintain the quality and security of the canned goods, this action is crucial.
The focus stays on maintaining the quality and freshness of the ingredients when these aspects are painstakingly attended to, paving the path for a smooth and successful canning venture.
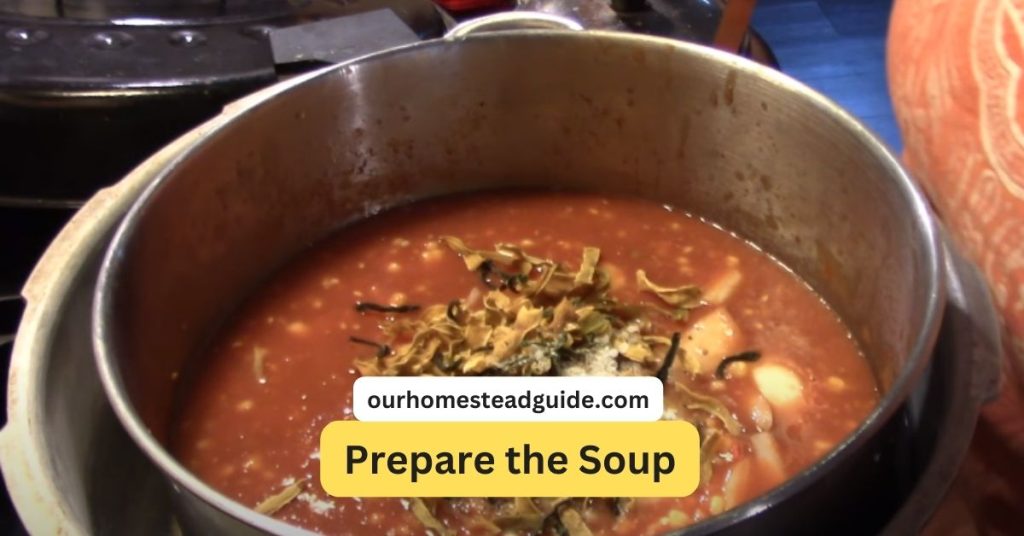
2-Prepare the Soup
To ensure the highest level of quality and safety of the finished product, it’s crucial to take a methodical approach while beginning the work of preparing the soup for canning. Make time to prepare your favorite recipe if you don’t already have a batch of cooked vegetable beef soup on hand.
Choose a variety of fresh, colorful veggies, choosing a variety that adds to the flavor and nutritional value.
Include tender beef cuts and give them enough time to simmer to a tender condition that will be retained while canning. To guarantee a balanced and robust flavor profile, pay close attention to how well the balance of seasonings, herbs, and spices is achieved.
It is crucial that your soup achieves a full and complete cooking stage before starting the canning process. This stage makes sure the components of the soup have blended together nicely and that any potentially hazardous germs have been effectively destroyed. To ensure both taste and safety after the canning process is complete, use this cooked soup as the basis for your final product.
Following these detailed instructions will help you have a fruitful canning experience that results in jars of delicious, long-lasting vegetable beef soup.
3: Preheat Your Jars
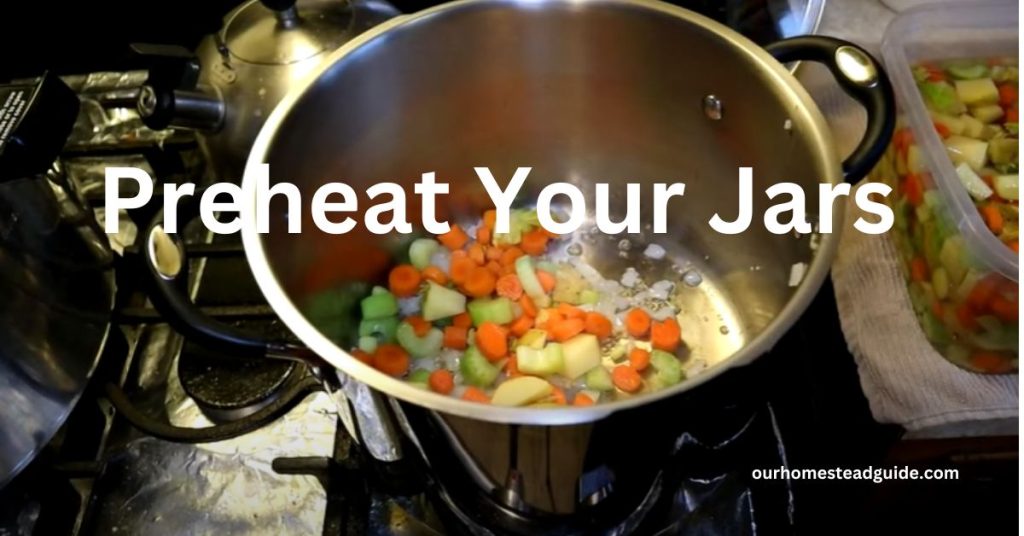
It’s necessary to prevent thermal shock by preheating your canning jars throughout the critical preparation process. Place your chosen canning jars into a water bath canner or a pot that is generously sized, and then fill the container with water. Preconditioning the jars is achieved by deliberately raising the water’s temperature to a moderate simmer over time.
The crucial benefit of this methodical preheating procedure is that it keeps the jars from breaking or cracking when they come into touch with the scorching soup. By scrupulously following this procedure, you strengthen the basis for a smooth canning process, ultimately assuring that your efforts result in jars of flawlessly preserved, spotless vegetable beef soup.
4: Fill the Jars
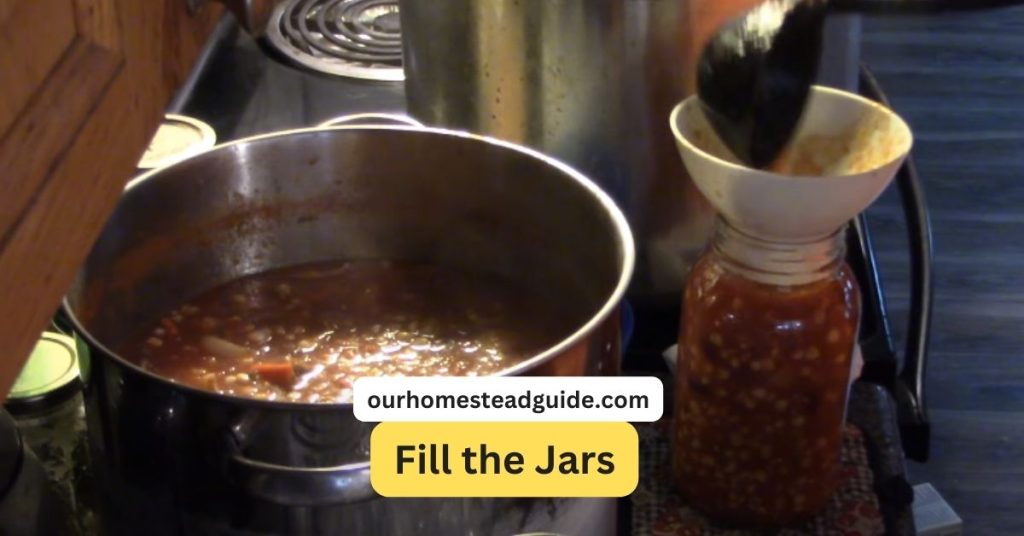
- To carefully remove a heated jar from the water, use a jar lifter.
- Put a small amount of cabbage or leafy greens, if they are in your recipe, to the bottom of the jar.
- Ladle the hot soup into the jar with care, allowing about 1 inch of headspace there so that it can expand.
- Optionally, season each jar with a dash of salt to improve flavor.
5: Remove Air Bubbles
Eliminating air bubbles from the jar emerges as a crucial step in the pursuit of perfect sealing. Using a clean and non-metallic tool, such as a gentle sweep of a chopstick or the careful application of a plastic spatula, delve into the jar’s contents with the deliberate action of dislodging any lingering air pockets that might compromise the hermetic seal.
6: Wipe the Jar Rims

It becomes essential to carefully take care of the jar rims as you get closer to the crucial stage of getting your jars ready for sealing. Use a clean, lightly wet cloth to gently clean the rims, getting rid of any soup residue that can prevent a tight seal.
This painstaking action acts as the first step in ensuring an efficient and airtight connection between the jar lids and the corresponding containers. By doing this thorough step, you improve your canning endeavor’s chances by creating an atmosphere where freshness and longevity peacefully coexist in each jar of carefully made vegetable beef soup.
7: Apply Lids and Bands
It’s time to carefully add the finishing touches to your painstakingly prepared jars as you near the end of the canning process. Place the canning lids atop each jar with care, then use the included bands to hold them in place. Be cautious when tightening the bands, making sure they are snug but not too tight.
To properly preserve vegetable beef soup, it’s crucial to create a tight seal that keeps the food intact without overtightening. This careful process helps establish a favorable environment within the jars, ensuring the long-term preservation of your delicious soup.
8: Process in Water Bath Canner
It’s now time to proceed with the crucial procedure of processing the jars inside the water bath canner after they have been painstakingly prepped and sealed. Place the filled jars carefully back into the canner, making sure they are completely submerged in the water. Most importantly, make sure the water level rises at least 1 to 2 inches above the jar tops.
This tactical configuration ensures ideal preservation conditions and thorough heat distribution. Continue by gradually bringing the water in the canner to a rolling boil. This will result in a controlled and efficient preservation process that ensures the consistency and security of your delicious vegetable beef soup.
9: Process the Jars
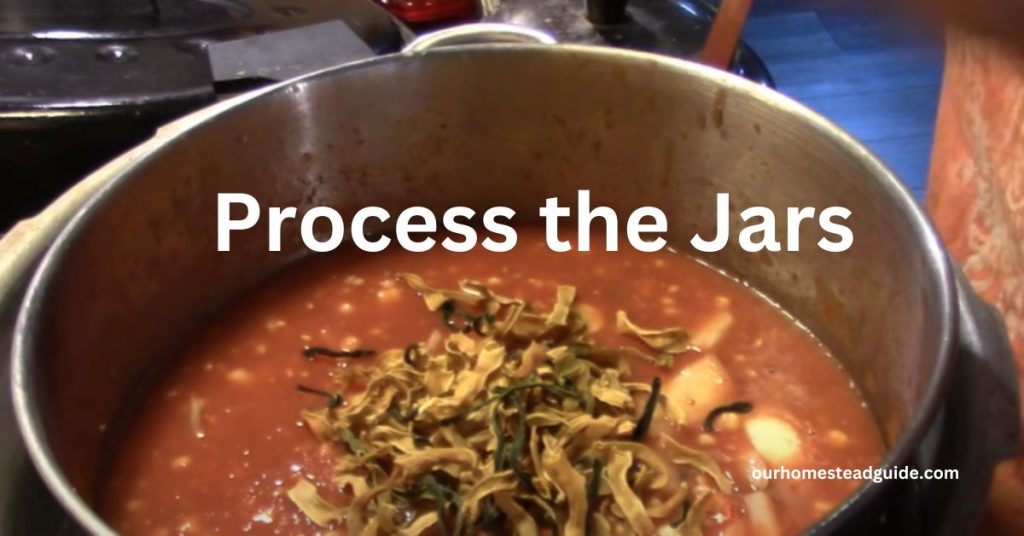
Mark the start of a crucial countdown as the water inside the canner reaches a rolling boil. Set the timer to begin the precise processing of the jars while following the instructions designed specifically for your altitude and the size of the jars in question. This precisely calculated period, which typically lasts between 40 and 90 minutes, is essential for getting the best preservation results.
In order to ensure the safety, quality, and long-lasting attractiveness of your vegetable beef soup creation, the various processing times are created to suit the specific qualities of your soup. By carefully managing your time during this stage, you can combine your previous efforts into a fruitful and satisfying canning project.
10: Remove and Cool
When the processing stage is finished, use the jar lifter to carefully remove the jars from the water bath canner while keeping a cautious grip to guarantee safety. Set the stage for the cooling process by placing the jars on a spotless towel in an area free from drafts.
Give the jars the necessary time to totally cool down, which is a crucial phase in the preservation process and helps the development of their sealed state. You may notice the lids sealing with a distinct “pop” as they gradually cool; this is an encouraging sign that your diligent efforts have resulted in an effective and airtight preservation outcome.
11: Check Seals and Store
- Before continuing, allow the jars to cool completely.
- By applying pressure to the middle of each lid, you may check the seals. A jar that has been correctly sealed won’t budge and will stay upright.
- When the jars are closed, keep them in a cold, dark place.
canning vegetable beef soup without a pressure cooker
Without a pressure cooker, canning vegetable beef soup raises the possibility of insufficient temperature, endangering safety. Pressure canning, which achieves high temperatures and prevents botulism, is essential for low-acid foods.
To prevent bacterial development, freeze the soup or eat it fresh instead of using a pressure canner. Once the soup has cooled, freeze it and store it in airtight containers. Invest in a pressure canner for safe canning, ensuring that low-acid items are preserved and food-safe temperatures are reached.
How long to pressure can vegetable beef soup
Vegetable beef soup that has been pressure canned may take different amounts of time to process depending on things like altitude, jar size, and recipe details. Generally, you may process pint jars for 60–75 minutes at the pressure that is suggested for your altitude.
The processing time for quart jars is usually longer—between 75 and 90 minutes. Always refer to the recipe or a trustworthy pressure canning book for exact instructions tailored to your unique circumstances.
Serving Ideas for Canning Vegetable Beef Soup:
Quick Lunches: For a quick and simple dinner on hectic days, just heat and serve.
perfect for those or families that don’t have a lot of time to cook.
Meals on the Run: Bring thermoses for outdoor activities or meals at work or school.
Hiking or camping When going camping, pack canned soup for a hearty and satisfying dinner.
Being Ready for Emergencies: Store canned soup in your emergency food stash in case something unforeseen comes up.
Selection of Sides: For a full meal, serve with crackers, crusty bread, or a side salad.
Benefits for Canning Vegetable Beef Soup:
Maintaining Nutrient Content: The nutritious content of the components is maintained for a long time by canning.
extended shelf life: Compared to fresh or chilled soups, canned soups have a longer shelf life.
Handiness: ease of being ready to eat without requiring lengthy meal preparation.
Economy of Scale: When materials are in season, canning in large quantities might be a financially advantageous option.
Decreased Food Wastage: Preserve extra meat and veggies to cut down on food waste before it goes bad.
Tips for Canning Vegetable Beef Soup:
Follow Safe Canning Practices: Follow the recommended canning techniques to guarantee food safety and avoid spoiling.
Use High-Quality Substances: For maximum flavor and nutritional value, use fresh, premium meats and veggies.
Harmonize Tastes: Combine spices, herbs, and vegetables to create a taste profile that is harmoniously balanced.
An appropriate jar seal Verify the correct sealing of jars to preserve freshness and avoid infection.
Jar Labels: For ease of management, clearly mark jars with the contents and canning date.
Storage circumstances: To preserve quality, keep canned soup in a cold, dry, and dark area.
Turn the stock: Employ the first-in, first-out method to utilize older cans before more recent ones.
Examine Jars Prior to Usage: Check jars for any indications of deterioration, such as protruding lids or strange odors, before eating.
Conclusion:
Preserve your homemade vegetable beef soup for year-round enjoyment using the right techniques and tools. Follow safety guidelines and recommended processing times for optimal results. Experiment with different recipes and variations to create a pantry filled with delicious dinner options.
Most Frequently Asked Questions!
1. What is canning?
Canning is a food preservation method that involves sealing prepared food in jars or cans to create a vacuum seal that prevents spoilage and extends shelf life.
2. Can I have vegetable beef soup at home?
Yes, you can vegetable beef soup at home using proper canning techniques. However, it’s important to follow recommended guidelines to ensure safety and prevent bacterial contamination.
3. What equipment do I need for canning vegetable beef soup?
You’ll need canning jars, lids, bands, a water bath canner or pressure canner, jar lifter, clean towels, and utensils for filling and removing air bubbles.
4. How do I ensure my jars are properly sanitized?
Thoroughly wash jars, lids, and bands with soap and hot water. Sterilize them by boiling the jars and lids in water for 10 minutes or by using a dishwasher’s sterilization cycle.
5. Do I need to pre-cook the soup before canning?
Yes, the soup should be fully cooked before canning. This ensures that harmful bacteria are eliminated during the canning process.
6. How do I know if my jars are sealed properly?
After the jars cool, press down on the center of each lid. A proper seal is indicated if the lid doesn’t flex and stays down. You might also hear a “pop” sound during cooling, which confirms sealing.
7. Can I adjust the seasonings in the recipe for canning?
Yes, you can adjust seasonings to your taste. However, avoid using excessive oil, flour, or dairy, as these can affect the quality and safety of canned foods.
8. Can I add pasta or rice to the soup before canning?
It’s generally recommended to avoid adding pasta or rice before canning, as these ingredients can absorb liquid and become mushy during processing.
9. How long can I store canned vegetable beef soup?
When properly canned and stored in a cool, dark place, vegetable beef soup can typically be stored for up to 1 to 1.5 years.
10. Can I use a pressure canner instead of a water bath canner?
Yes, you can use a pressure canner for low-acid foods like vegetable beef soup. Pressure canning at the right temperature and pressure ensures the elimination of harmful bacteria.
11. What’s the recommended processing time for vegetable beef soup?
The processing time varies based on factors like altitude, jar size, and specific recipe. Check reliable canning resources or guidelines for accurate processing times.
12. Can I reuse lids and bands for canning?
Lids are typically for one-time use due to their sealing compound. Bands can be reused if they’re in good condition and not bent or rusted.
you may also like this article.